
Installation and Configuration of Linode Compute Automation for Blesta
This tutorial will show you how to successfully install and configure the Linode module for Blesta. We will guide and help you step by step through the whole process.
Reference on obtaining API token from Linode Portal.
Obtaining Personal Access Tokens:
- Log in to the Cloud Manager
- Click on your username at the top of the screen and select API Tokens under the My Profile section.
- Click the Create a Personal Access Token button to display the Add Personal Access Token panel.
- Enter a Label for this new token. Choose a label that allows you to identify the token and understand its intended use.
- In the Expiry field dropdown menu, select a timeline for when the new token expires. You can optionally allow this token to never expire. This cannot be changed once the token is created.
- Select the level of access this token should have to each product or service with which the Linode API interfaces. This can be None, Read Only, or Read/Write (for full access to that service). This cannot be changed once the token is created.
- Click the Create Token button to generate the new personal access token. A dialog box opens and displays your new personal access token. Save this in a safe place, such as a password manager. After closing this prompt, you are not able to view the token string again.
Installing and Activating Module in Blesta
- Extract and upload the linode folder to /path-to-your-blesta/components/modules direcotry
- Login into your Blesta Admin Portal
- Go to Settings → Modules → Available → and click on Install next to Linode Compute module
- Go to Settings → Modules → Installed → Manage (next to Linode Compute Module)
- Click on Add Account and provide a Name, API Key (copied from previous step).
- Provide Module License Key, and click on Add Server.
Creating Configurable Options
- Go to Packages → Configurable Options → Create a group (Give any name based on your requirement)
- Now click on options and add two options as show below by clicking Create Options
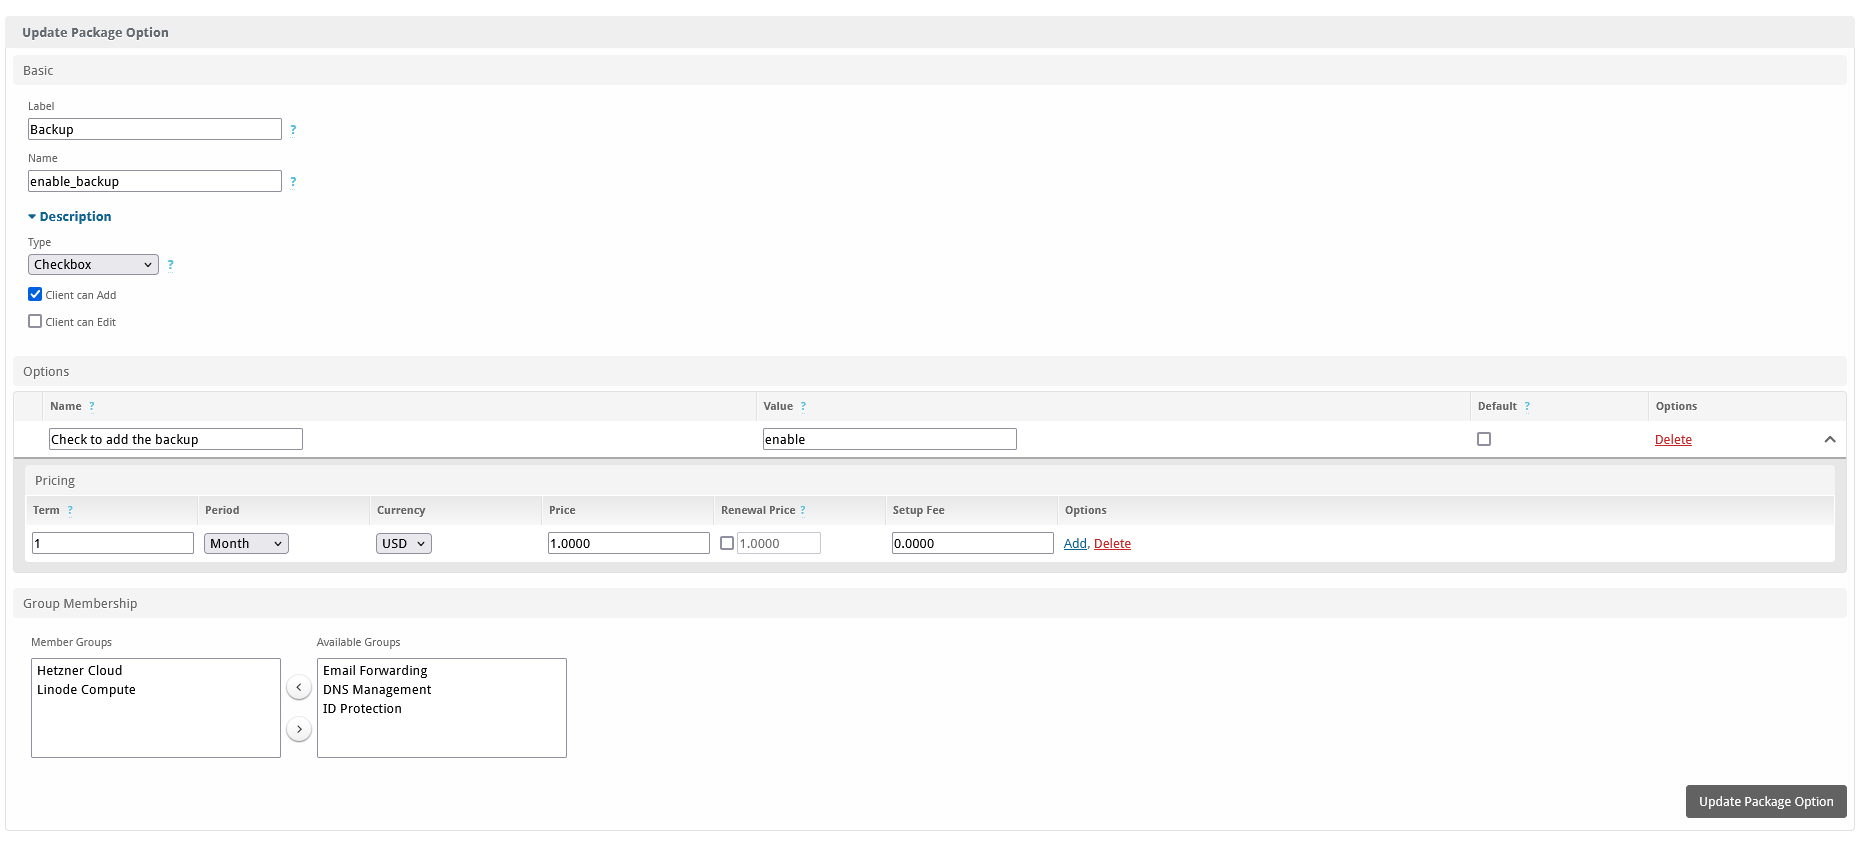
- Backup as show as below (No Changes)
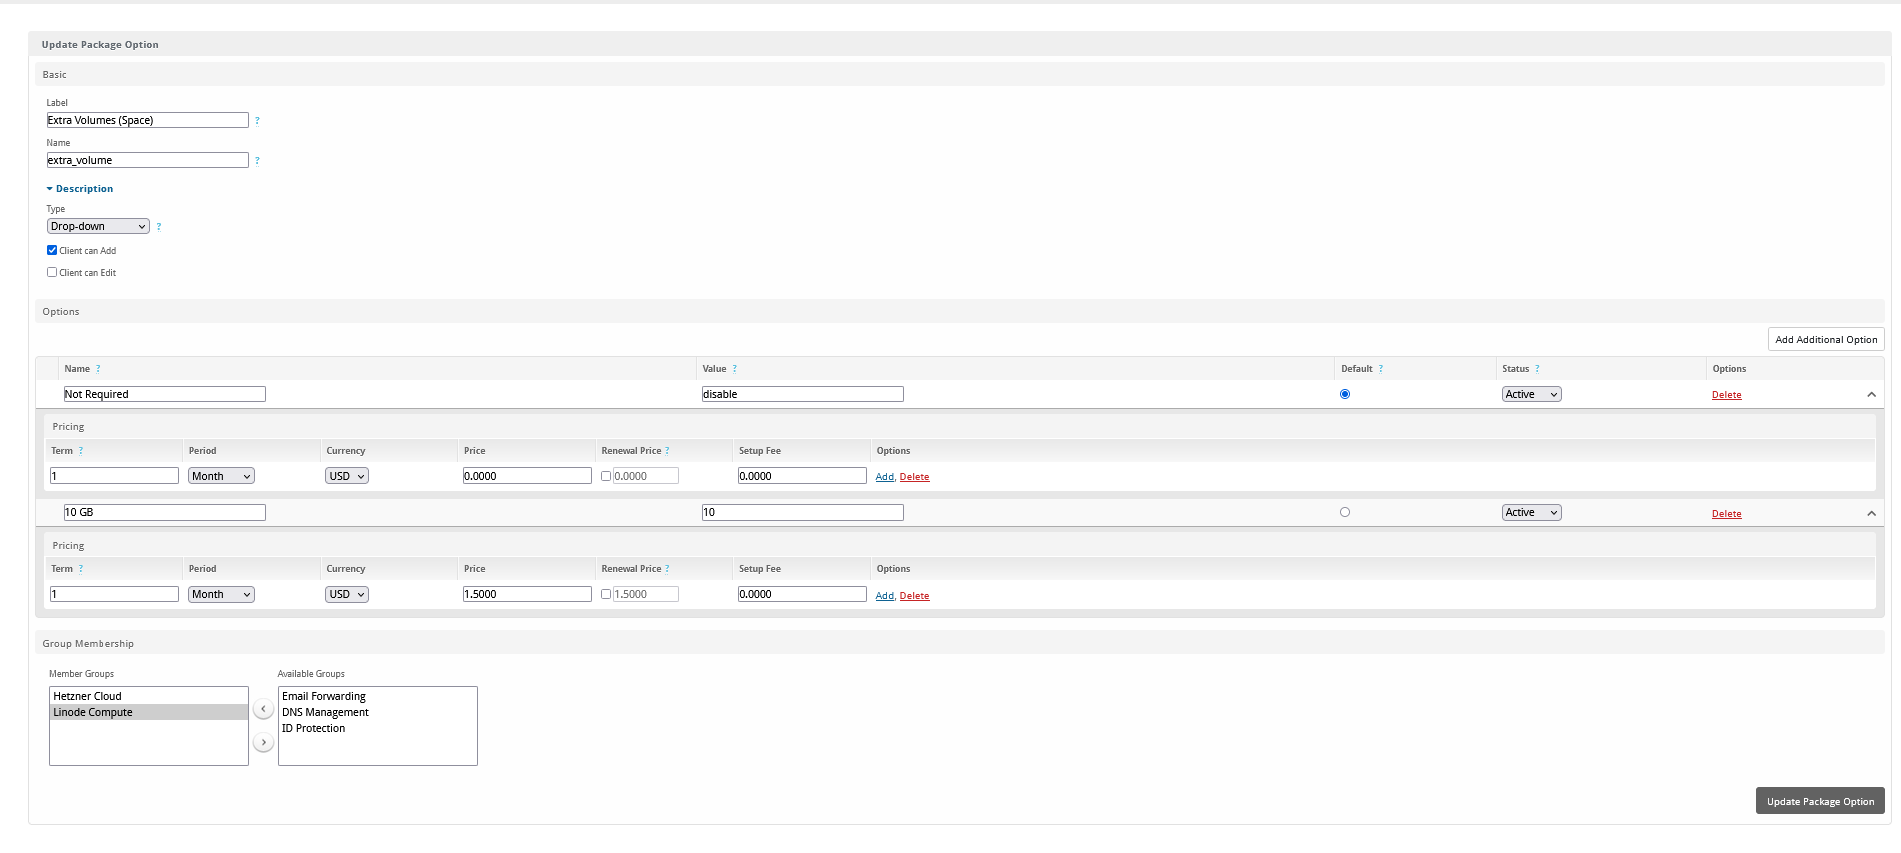
- Volume Configurable Options (You can add as much extra plans ) but do not change anything with first option
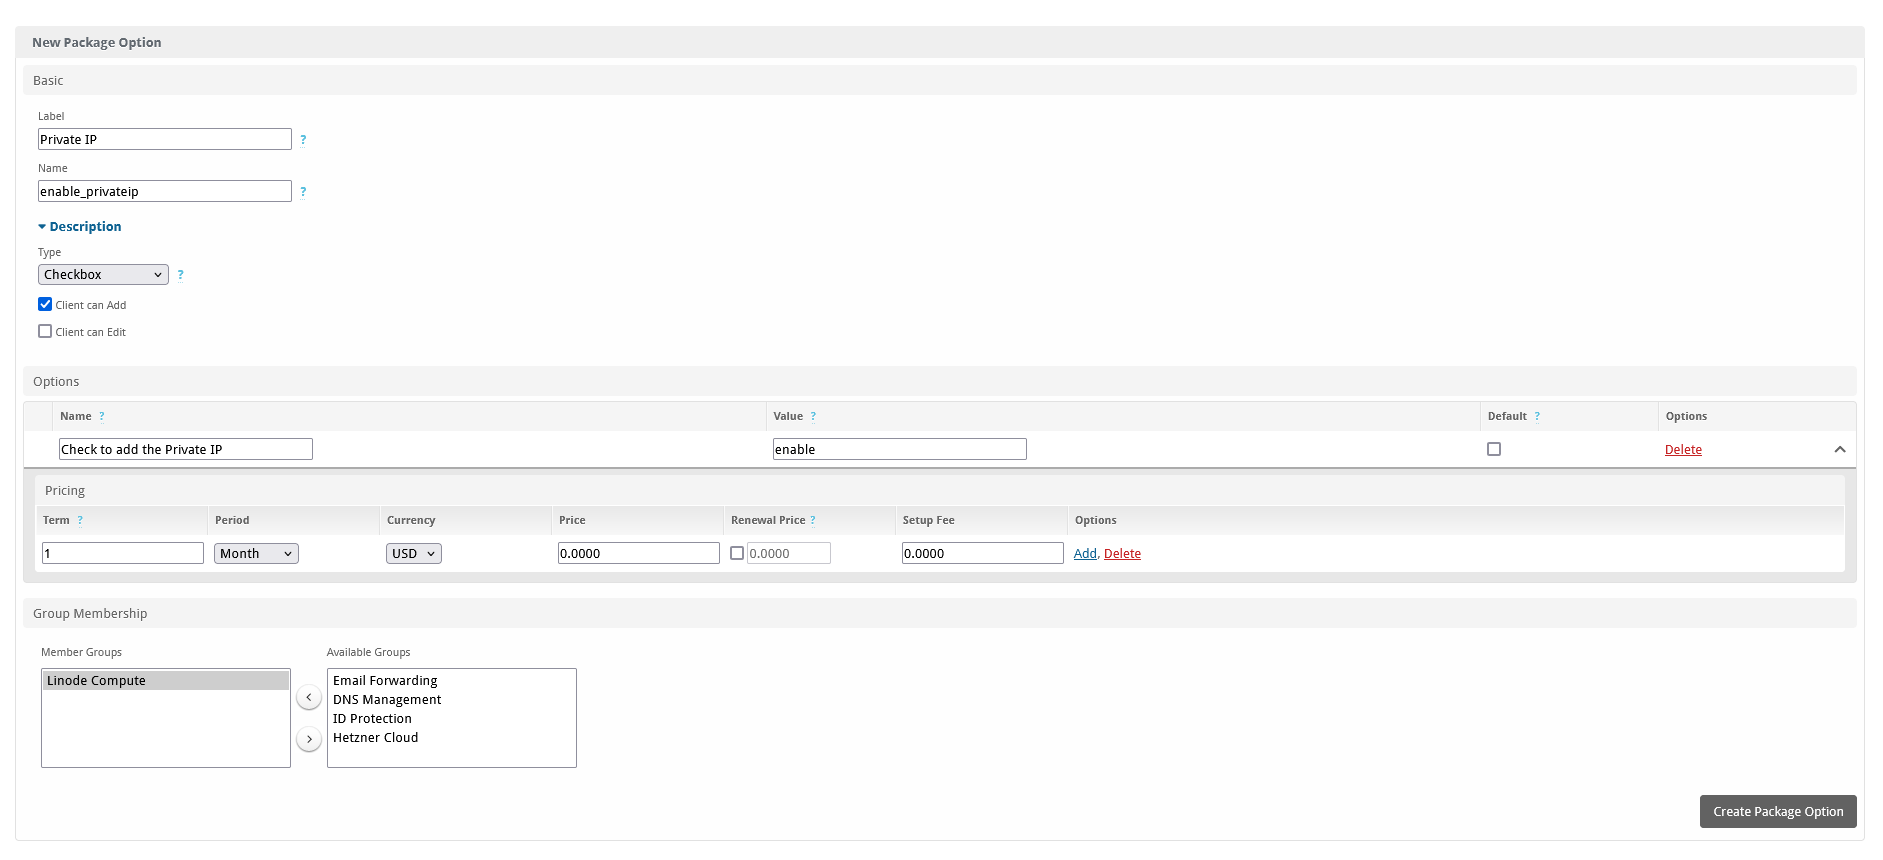
- Private IP as show as below (No Changes)
Creating/ Modifying Packages
- Now navigate (Packages → Packages -> Add Package (+) sign → Give a Package and set other thing based on your requirement within Basic Tab page.
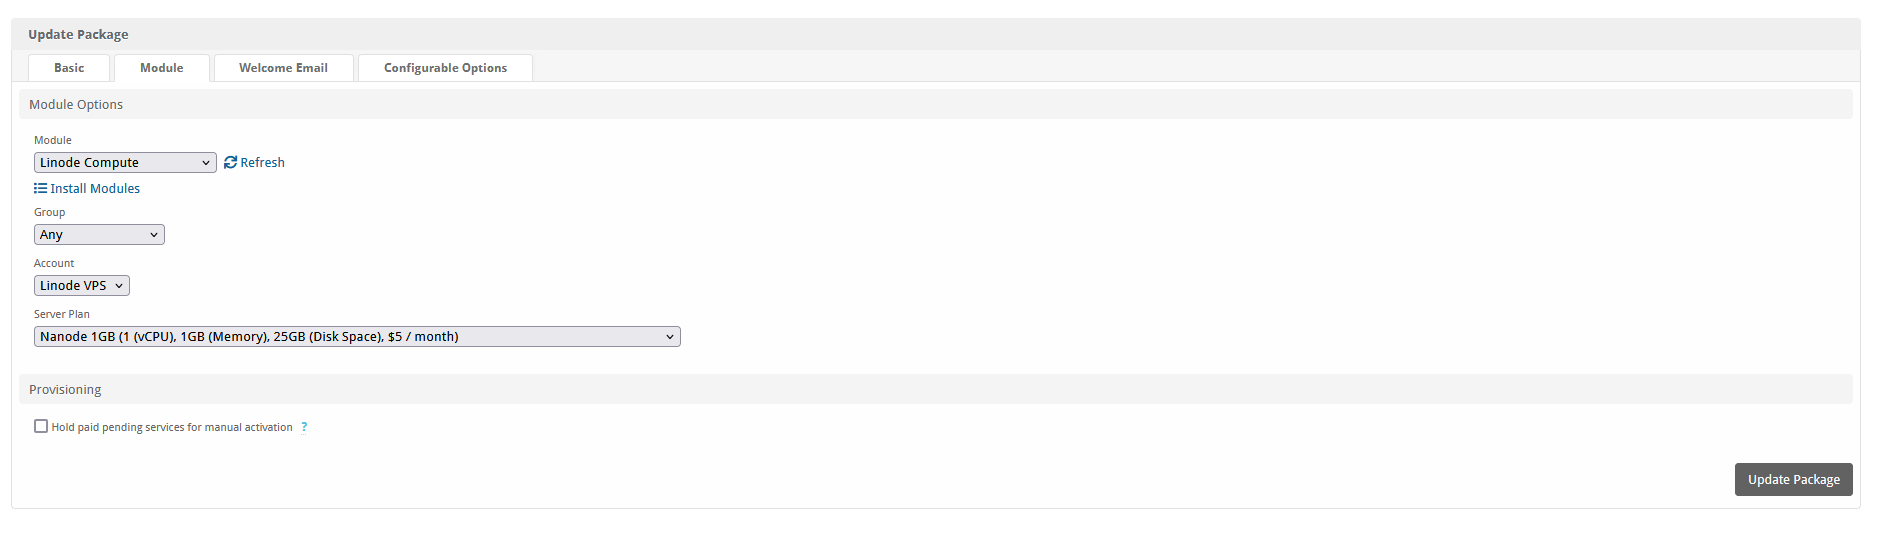
- Go to Module Tab → select Module Name: (Linode Compute), group : Any , Account, other options ( If you know what it is else leave it )
- And do click on Update or Add Package by selecting your required plan for the package.
- Welcome Email you can adjust based on your requirements and the available fields are: {service.linode_hostname} {service.linode_password} {service.linode_ipaddress} {service.linode_ipaddressv6} {service.username} {service.linode_location}
Sample Email
This sample email could be used in the Package Welcome Email section to help you get started. Be sure to enter content for your welcome email in both the HTML and Text sections.
Thank you for selecting our VPS service!

Your VPS, named {service.linode_hostname}, located at our data center in {service.linode_location}, is currently being initialized.
You can monitor and manage it through our client area by clicking the "Manage" button next to your server on the Dashboard.

The initial password is located in the "Actions" section. Please allow a few minutes for the VPS to complete the booting process.

Here are some essential details for your reference, which are also accessible from our client area:

Main IP: {service.linode_ipaddress}
IPv6 Address: {service.linode_ipaddressv6}
Username: {service.username}
Password: {service.linode_password}

Thank You.
Importing and Assigning Existing servers to customer
- Start by navigating to your user’s profile and editing their product/ services.
- Locate the VM ID text box within the service settings (post clicking on the manage link).
- Copy the VM ID from your Linode Cloud portal.
- Paste the copied VM ID into the VM ID text box in our module.