
Installation of Payment Gateway Fees for WHMCS
This tutorial will show you how to successfully install and configure the module for WHMCS. We will guide and help you step by step through the whole process.
Note: Stripe and PayPal Checkout is not supported at this moment as they work differently
Module download & Installation:
- Download the module from our billing area.
- Extract the zip file and upload the contents of the WHMCS folder to your WHMCS directory.
- Go to Setup > Addon Modules and activate the Payment Gateway Fees module.
- Click on the "PG Fees Configure" option.
- Enter the license key obtained from our billing area, then choose whether to add tax to service fees (Yes or No).
- Provide either an ipgeolocation.io API key or an ipinfo.io API key.
- Set the access control according to your needs and save the settings.
Note: Ensure that "Attempt to load all files" is enabled in your system settings. You can find this option under "System Settings" > "General Settings" > "Other" tab > "Encoded File Loading.
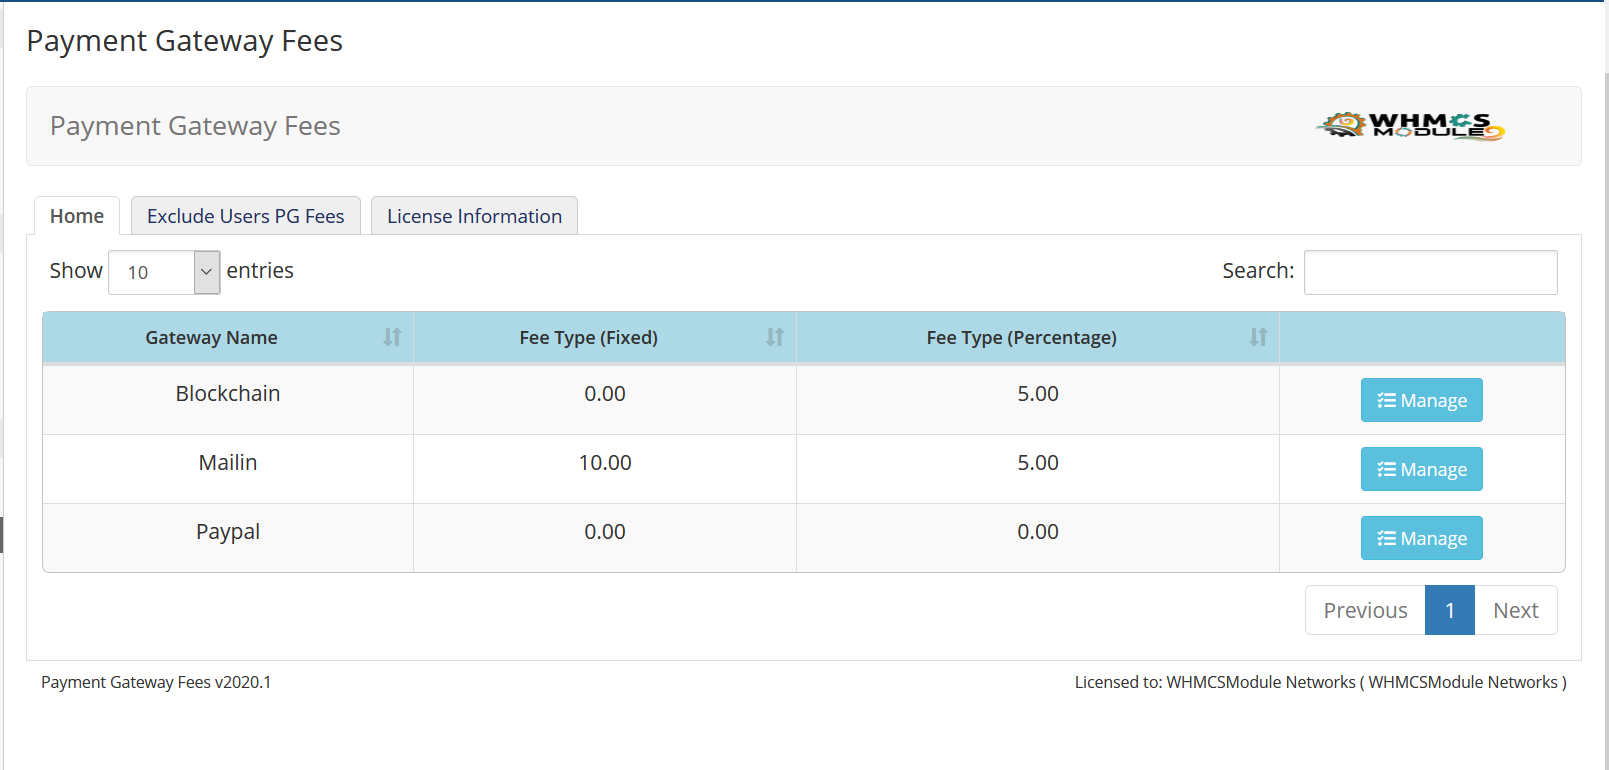
- Next, navigate to Addons > Service Fees. Next to your gateway, click on "Manage" to configure the gateway fees, including Fixed Fee, Percentage Fee, Calculation Type, Minimum Invoice Amount, and other settings.
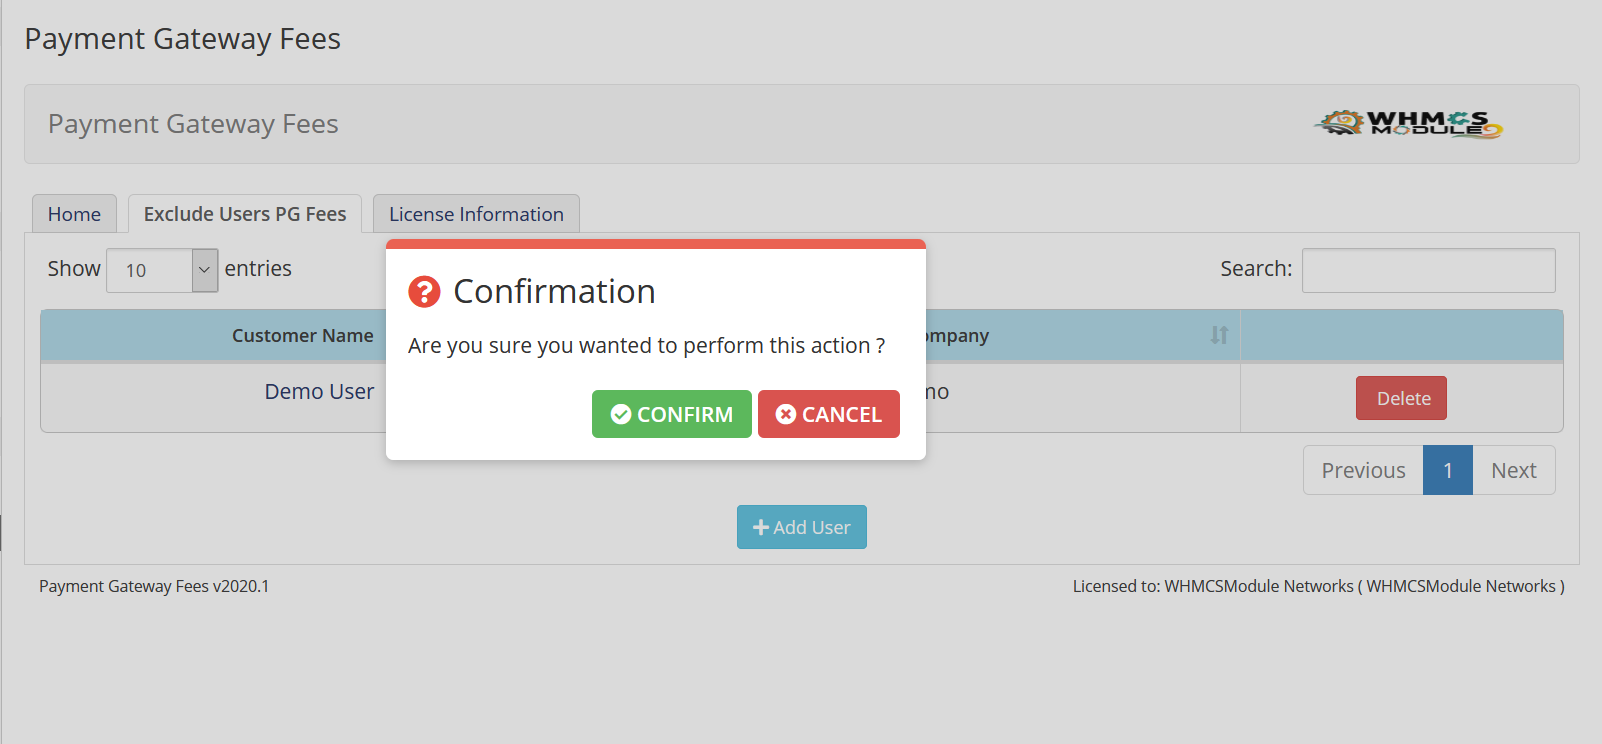
- Now, click on the "Exclude Users PG Fees" tab to exclude any users as needed.
- Now, click on the "Gateway Allocation" tab to exclude any gateway from any country you wish to as needed.

Note, default is all which will allow all country users and if you specified any country say India for razorpay then Indian users will be able to see the razorpay gateway not any other country users.